Your studs are not where you think they are. That's the discovery almost everyone makes about ten minutes into their first floating shelf build, right after they've cut the boards and drilled the first pilot holes. A shelf that looks like it floats needs something solid to hang on, and in most older homes the studs are spaced in ways nobody promised you.
This tutorial covers how to build DIY floating shelves for any room — the bracket-free method, the hidden-bracket method, and what each one actually holds. No vague promises about weight capacity. Real numbers from builds I've done in my own house, including one shelf that fell.
Key Takeaways
- A hollow-core shelf with a hidden rod bracket holds 25–40 lbs in drywall when anchored properly; a solid wood shelf on a steel frame into studs handles 70 lbs or more.
- Building your own shelf costs roughly a third of a store-bought floating shelf at the same size, but only if you already own a drill and a saw.
- Plywood shelves need a solid-wood face frame or edge banding — bare plywood edges look cheap and absorb paint unevenly.
- Depth matters more than length for heavy objects: 10–12 inches of depth keeps books from cantilevering and sagging.
- Floating shelves are absolutely still in style in 2026 — but the trend has moved toward thicker profiles and fewer, larger shelves.
How to build DIY floating shelves that work in any room
The single biggest mistake is treating this as a decoration project. It's a load-bearing project that happens to look pretty. Get the structure right and the styling is easy.
Three methods, three different weight limits
Nearly every floating shelf tutorial boils down to one of these approaches:
- The hollow box over a cleat — a U-shaped box of 3/4" plywood slides over a wooden cleat screwed into studs. Cheap, straightforward, holds maybe 20 lbs at the shelf edge.
- The hidden rod bracket — steel rods or a fabricated metal sleeve insert into holes drilled in the shelf, and the rod ends bolt to the wall. This is what commercial floating shelves use. This is also what most tutorials gloss over.
- The steel frame with a solid wood shell — welded or bolted angle iron forms a skeleton; a solid wood board slides on. Holds the most, costs the most, and takes a full weekend.
Choosing the right one for the room
Bathroom shelves hold towels and jars — the box method is fine. Living room shelves hold books, ceramics, a heavy brass lamp: you want rods or a steel frame. Kitchen shelves hold cast iron? Go steel frame and anchor into studs, no exceptions.
I built a set of three walnut shelves in our living room using 3/4" plywood boxes with 5/8" steel rods set into the underside. They've held about 30 lbs each for two years without sagging. My first attempt — a pure cleat-and-box build with 1/4" plywood — buckled at the front edge within a month under a stack of hardcovers. Total waste of two boards and a Saturday.
Is it cheaper to build or buy floating shelves?
Building is usually cheaper — often by half or more — but only when the comparison is fair. A store-bought solid oak floating shelf at 36 inches runs comfortably north of $80 in most big-box stores. Materials for the same shelf in oak-veneer plywood and steel rod came to about $28 on my last build.
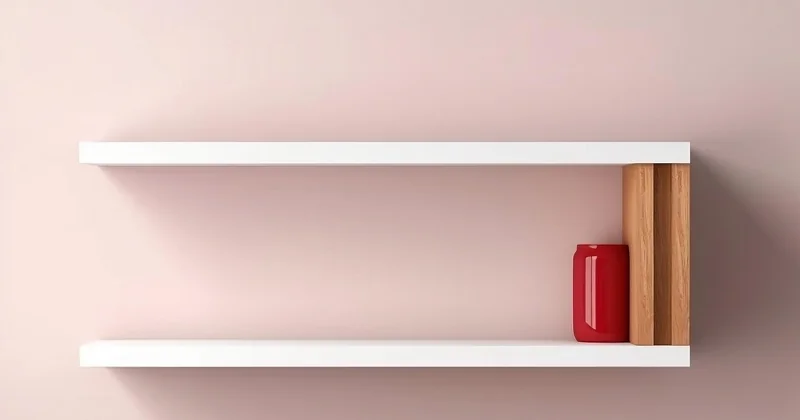
The catch? You need a drill with a long 5/8" bit, a circular saw or track saw, and clamps. If you're buying those tools for this project, you've just spent $200 to save $50.
| Approach | Typical cost (36" shelf) | Weight capacity | Tools required | Time |
|---|---|---|---|---|
| Buy pre-made floating shelf | $70–$120 | 20–50 lbs | Drill only | 30 min |
| DIY plywood box + cleat | $15–$25 | 15–25 lbs | Drill, saw, clamps | 2–3 hrs |
| DIY with hidden steel rods | $25–$40 | 30–50 lbs | Drill, saw, clamps, long bit | 4–6 hrs |
| DIY steel frame + solid wood | $50–$80 | 70–100 lbs | Full shop, welding optional | 1–2 days |
How to make inexpensive floating shelves
Cheap doesn't have to mean flimsy. Three moves that cut cost without cutting quality:
- Use 3/4" plywood for the sides and bottom, but wrap the front with a thin strip of real wood. The plywood does the structural work; the real wood sells the look.
- Skip the store-bought bracket and fabricate rods from threaded rod and pipe flanges from the plumbing aisle — a fraction of the cost of a dedicated floating shelf kit.
- Buy a single full sheet of plywood and cut multiple shelves from it. The per-shelf cost of a sheet that makes four shelves is dramatically lower than buying cut pieces.
Installing floating shelves without brackets in any room
The no-bracket look is the whole point — but "no bracket" in the visible sense doesn't mean "no support." Read on, because what you can't see is what's holding the weight.

How to install floating shelves without brackets
There are exactly two honest ways to do this:
Option one: the cleat-and-box method. Screw a 1x2 or 1x3 cleat into the studs, then slide a hollow shelf box over it. The visible shelf is supported along its entire back edge. This is the easiest and most forgiving method, and it's the one I'd recommend for a beginner.
Option two: hidden rod brackets. Drill deep, precise holes into the back of a solid wood or thick plywood shelf, insert steel rods, mount the rods to the wall, slide the shelf on. The margin for error is small. If your holes aren't perfectly parallel, the shelf won't sit flat, and you'll see the gap.
In drywall with no stud nearby, use toggle bolts or heavy-duty drywall anchors rated for at least double your expected load. Not the plastic plugs that come free with the shelf kit. I've seen those fail spectacularly — one of them sheared out of a bathroom wall with a stack of towels on the shelf.
How to make a floating shelf for heavy items
Anchor into studs, every time. If studs aren't where you need them, mount a horizontal backer board (painted to match the wall) into the studs and attach the shelf to that. It won't look floating — but it will hold.
For genuinely heavy items, keep the shelf short and thick. A 30-inch shelf at 2" thick resists sag far better than a 48-inch shelf at 1". Span is the enemy of load capacity.
What depth should I use for heavy objects?
Aim for at least 10 inches. Anything deeper than 12 inches looks visually heavy in most rooms and needs mid-span support.
Are floating shelves out of style in 2026?
No — but the aesthetic has shifted. The ultra-thin, perfectly painted white MDF shelf of the mid-2010s has lost ground. What's landing in 2026 is a heavier look: thick solid-wood slabs, exposed grain, and fewer shelves per wall.
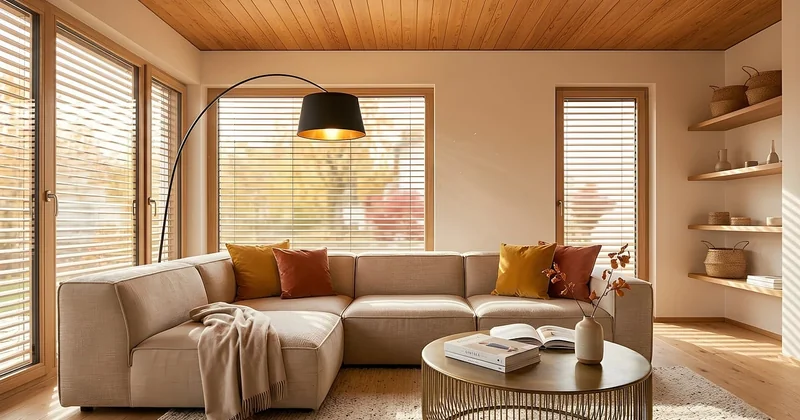
Three or four thin shelves stacked like a ladder now reads a bit dated. Two substantial shelves in warm oak or walnut read current. If you're worried about the shelf dating your room, the material matters more than the style — solid wood ages gracefully, painted MDF doesn't.
Designing floating shelves in a living room
A living room shelf has to solve a harder problem than a bathroom shelf: it needs to look curated without looking fussy, and it has to hold things people actually use.
Spacing and placement rules
Space shelves 12–16 inches apart vertically for objects; closer if you're only displaying small items. Align the top or bottom shelf with an architectural line in the room — a window head, a mantel, a door frame. This one trick makes the whole wall feel intentional rather than improvised.
Don't span the full wall unless you have an actual reason. Two shelves over a sofa, anchored to the sofa's width, look better than a symmetrical grid.
Styling without clutter
- Group objects in odd-numbered clusters.
- Leave at least 30% of each shelf empty.
- Mix heights: a tall vase, a stack of books, a small bowl.
- Lean a framed print rather than hanging it — it breaks the horizontal line.
- Use one large object per shelf rather than three small ones.
I'll admit, my first living room shelves looked like a store display — too evenly spaced, too tidy. Loosening the arrangement made all the difference. The shelves didn't change. The room did.
Common questions about building floating shelves
How do you make plywood floating shelves look good?
Edge banding or a real wood face frame. A bare plywood edge will telegraph through paint and look factory-made in the wrong way. Iron-on veneer tape is the fastest fix and holds up well.
Does wall type change the method?
Yes — drywall alone limits you to 25–40 lbs with heavy anchors; studs or masonry let you carry far more. Always identify your substrate before cutting any wood.
Get the substrate right and any of these methods will work in any room. Get it wrong and even the prettiest shelf is a hazard waiting for a heavy book.